
Hi and Happy Monday everyone!
Today starts the final week of our A to Z Blog
Challenge!
This week is also special because with the way the dates
fell on the April calendar this year, the last post will be this Sunday. That
means a full 7-day week of posts for this last leg of the blog sprint.
It’s going to be exciting and chock-full of
Scrapbooking know-how.
Are you ready? I'm READY!
 |
"Light me!" |
Let’s get the party started with today’s letter – T is
for TEARING.
Tearing is the utilization of ripped paper on your
scrapbook pages. This is another one of those “haven’t tried much” topics, but
I put myself to the test creating the examples, so I hope they do justice to
the subject.

 |
| I experimented with my first example. I tore an ad for a face cream out of a magazine, and bordered it with torn beauty-themed paper. |
 |
| The teared edges gives a fun, ripped-from-the-headlines effect; a perfect add-on to a scrapbook page. |
I liked out how the ad turned out, but I figured that
I needed to go more in-depth with my second example (both these projects are my
first attempts at tearing).
For the next try, I went with a Halloween theme.
 |
| I first cut out a pumpkin and Jack-O-Lantern face using dies cuts. |
I actually made two pumpkins: The one you see has a cut out
face, while the second one I glued the pieces of his face on individually. The
nose was the TINIEST thing ever.
Footnote to save your sanity: Don’t glue the pieces on one
by one – cut the faces out.
Sorry – rant over, moving on.
Sorry – rant over, moving on.
 |
| I tore up a bunch of black paper and adhered my masked pumpkin onto one larger square piece. |
The next step required me to break out the Mod Podge
(a glue-sealant that goes on white and dries clear and smooth to the touch).
The opportunity to create using ripped paper felt like a reward – I didn’t have time to make a Mosaic for my M post,
so I got to make up for lost projects. (*Woot*)
 |
| Using a sponge applicator, I spread out a generous layer of Mod Podge. |
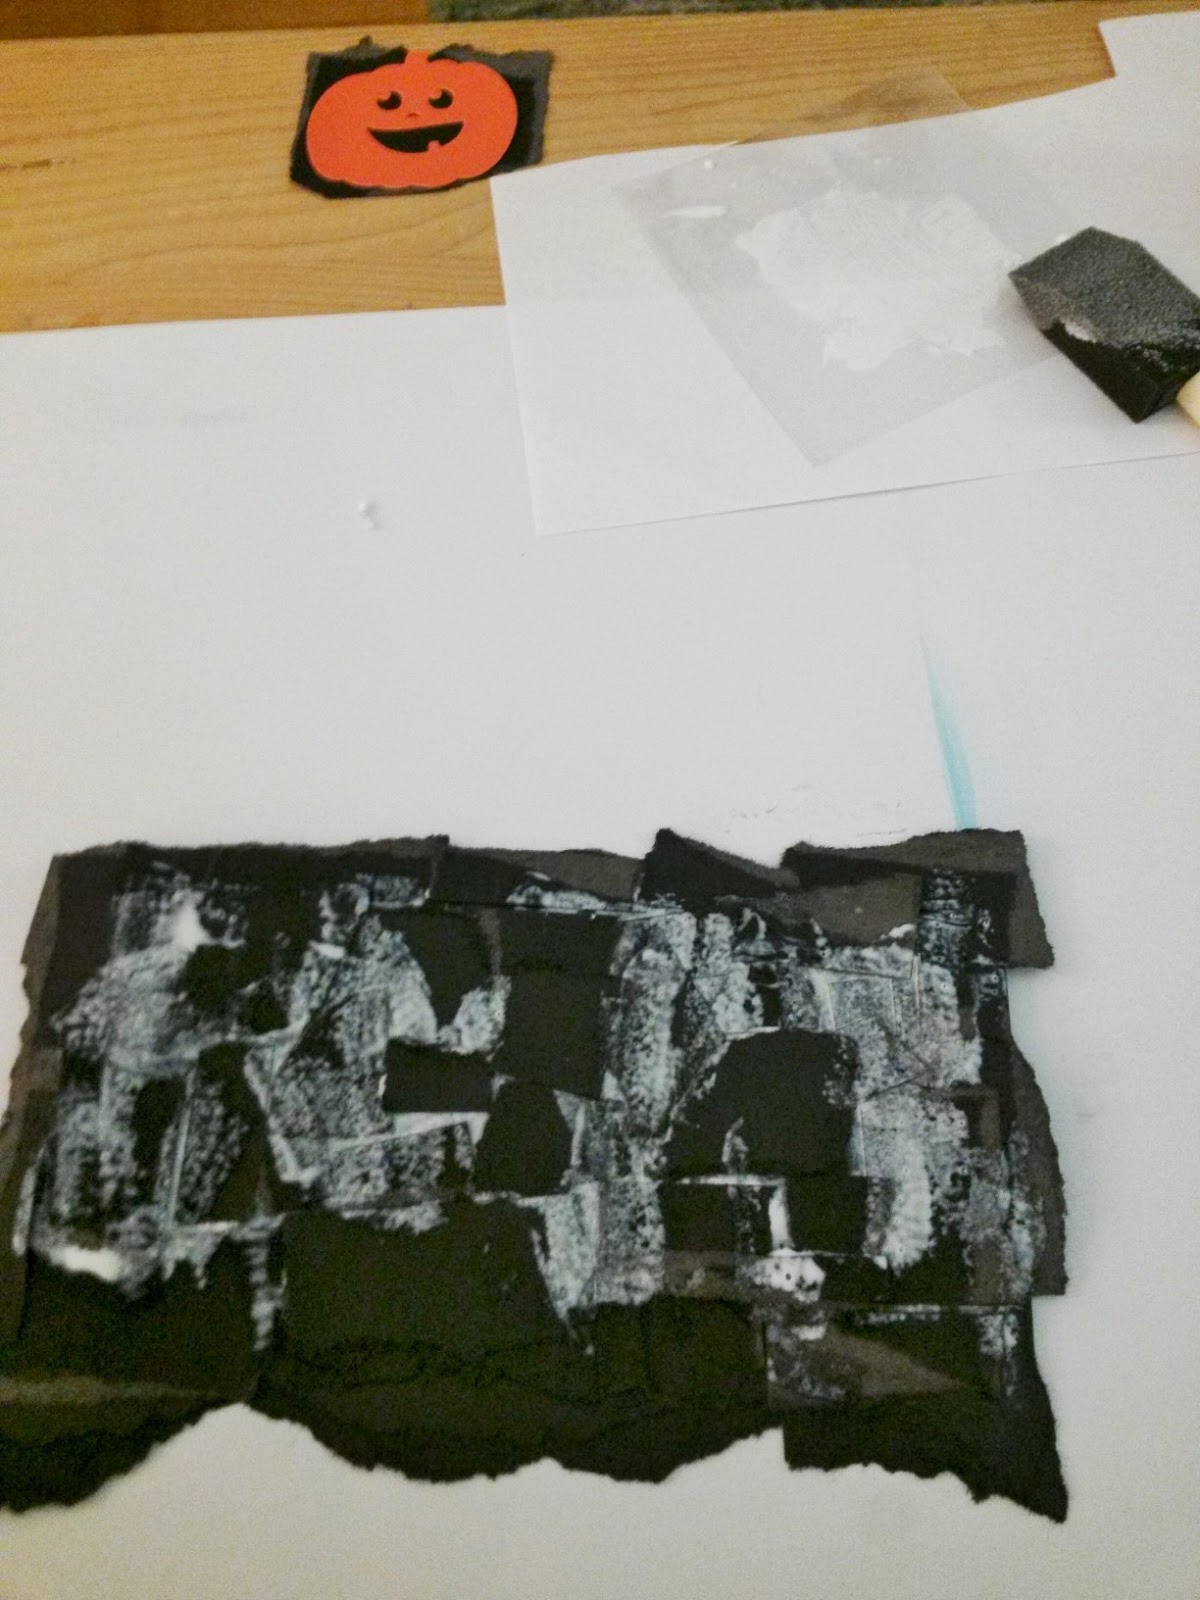 |
| I arranged the ripped pieces of paper, applying layers of Mod Podge to merge and seal. |
 |
After it all dried, I added the pumpkin square.
|
The finished product came out super cute.
 |
| I’m thinking this would look great as an anchor in the corner of a 12x12 Halloween colored (orange/black/green/brown) plaid page. |
| Tearing also makes for a great contrast between textures and patterns of paper. |
The raw edges could also give a journalistic and real-world
feel to text boxes. Tearing is an eye-catching way to add dimension and
appeal to your scrapbook pages.
And that’s another letter down, only six left to
go. I can’t thank you enough for stopping by to read my post. If you have tips
about tearing, general feedback about my scrapbooking theme, or just want to
say “Hi”, please leave a comment below. I’d love to hear from you.
If you would like to check out other awesome T
posts, please check out my fellow AtoZ blogsters by searching the keyword “A to
Z Blog Challenge” or the #AtoZChallenge.
I’ll be back tomorrow with a letter that’s a personal
favorite – U is for UPCYCLING.
See you then!
-
SNG
I actually love the tearing effect and have taken a match and burned the edges for that distressed look. Your pumpkin page looks good:)
ReplyDeleteHi Birgit! Thank you! :)
Delete